①The video tutorial link is below
youtu.be/VQdLAMrE-wU
②The image tutorial is below
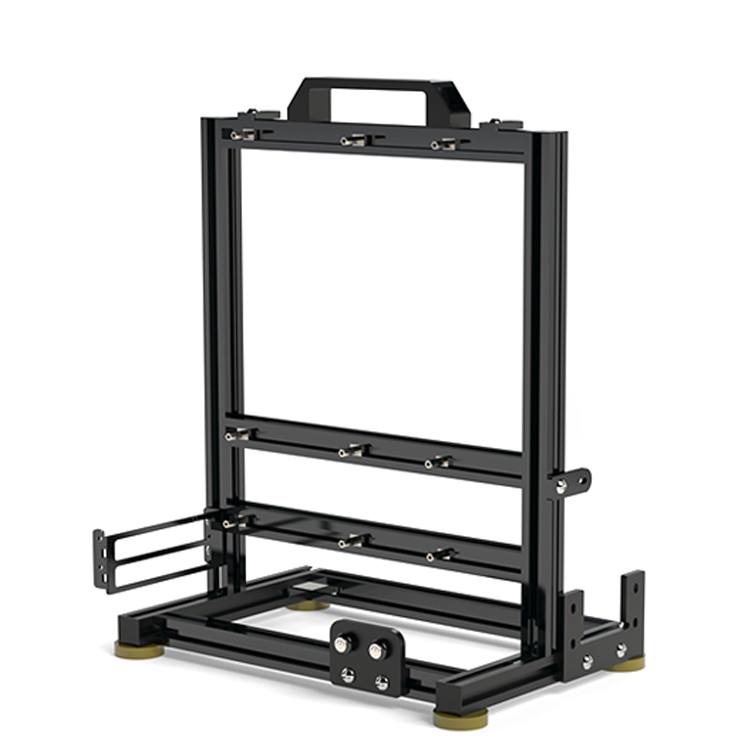
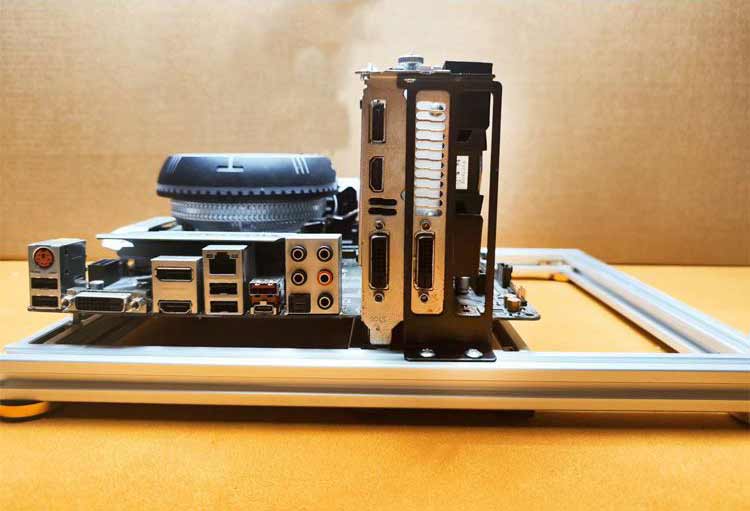
To make the tutorial clear, we use spray-painted pillars and colored acrylic panels.
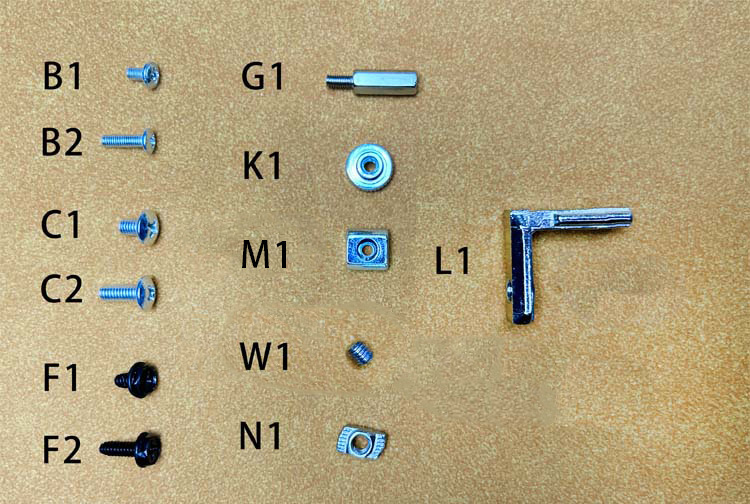
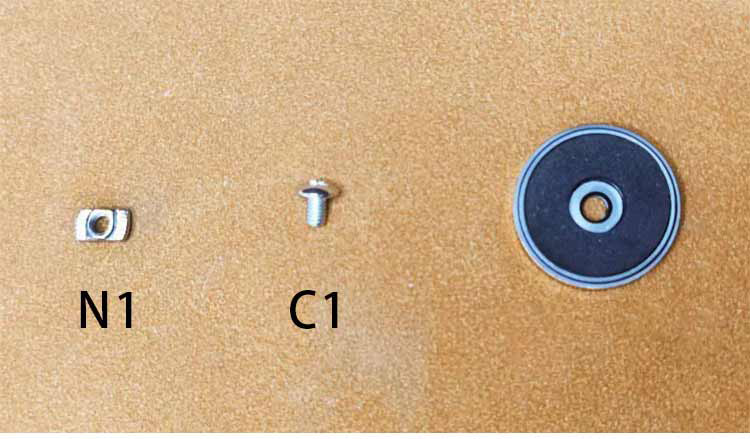
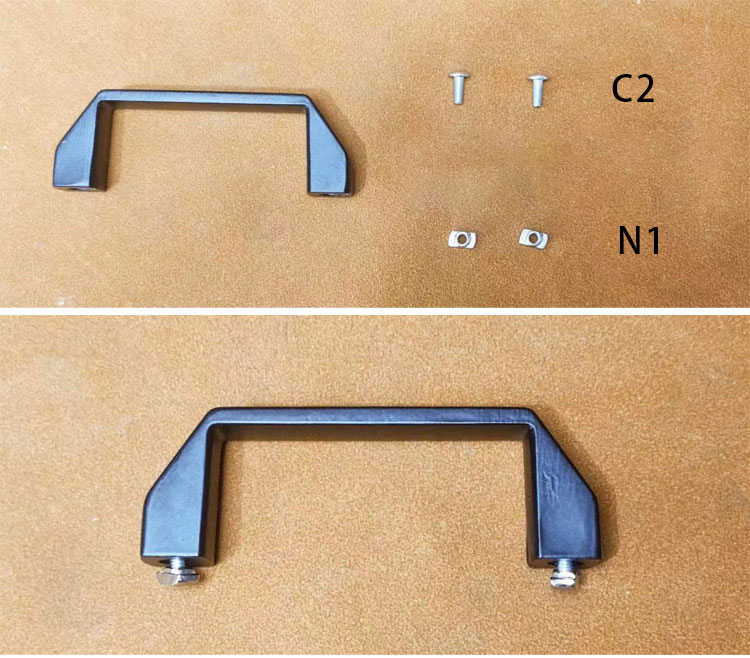
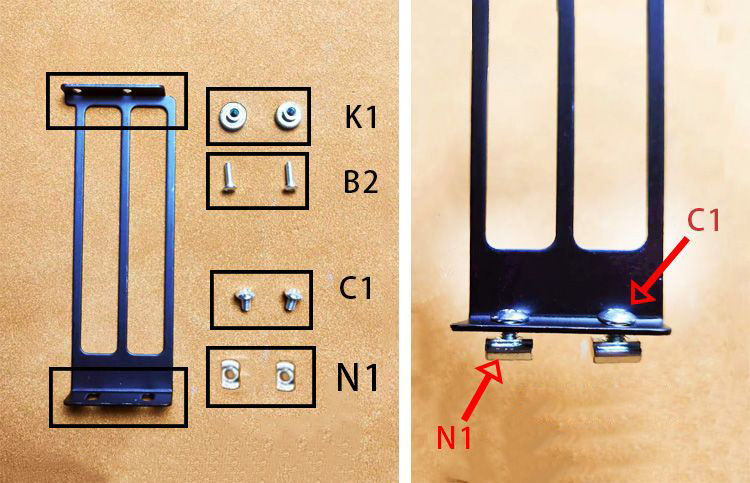
Tip: C2 is thicker than B2, and C1 is thicker than B1.

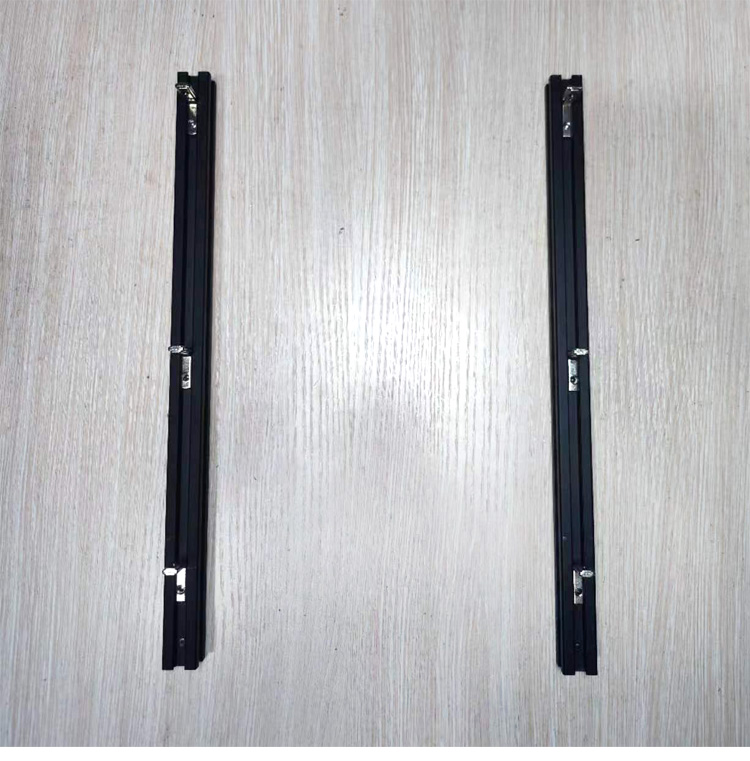
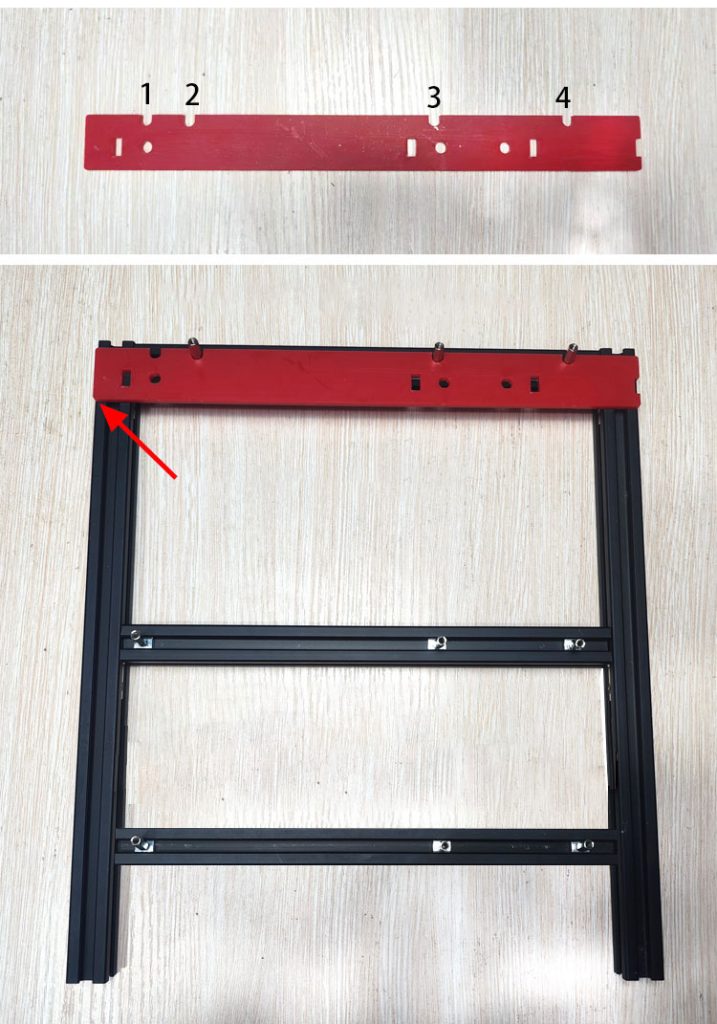
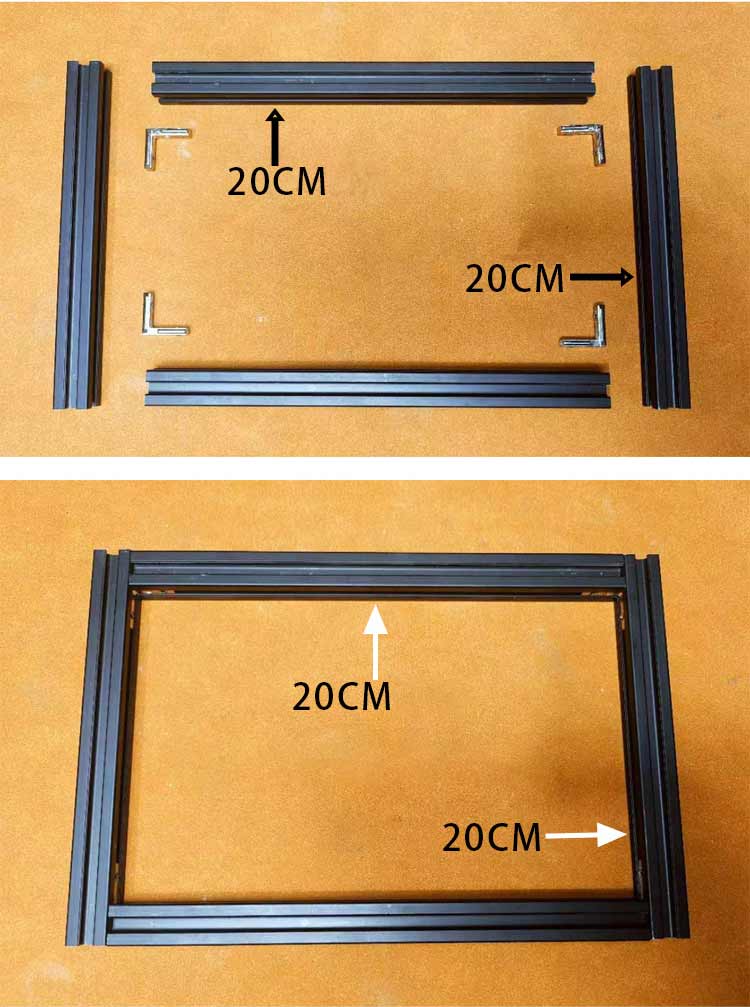
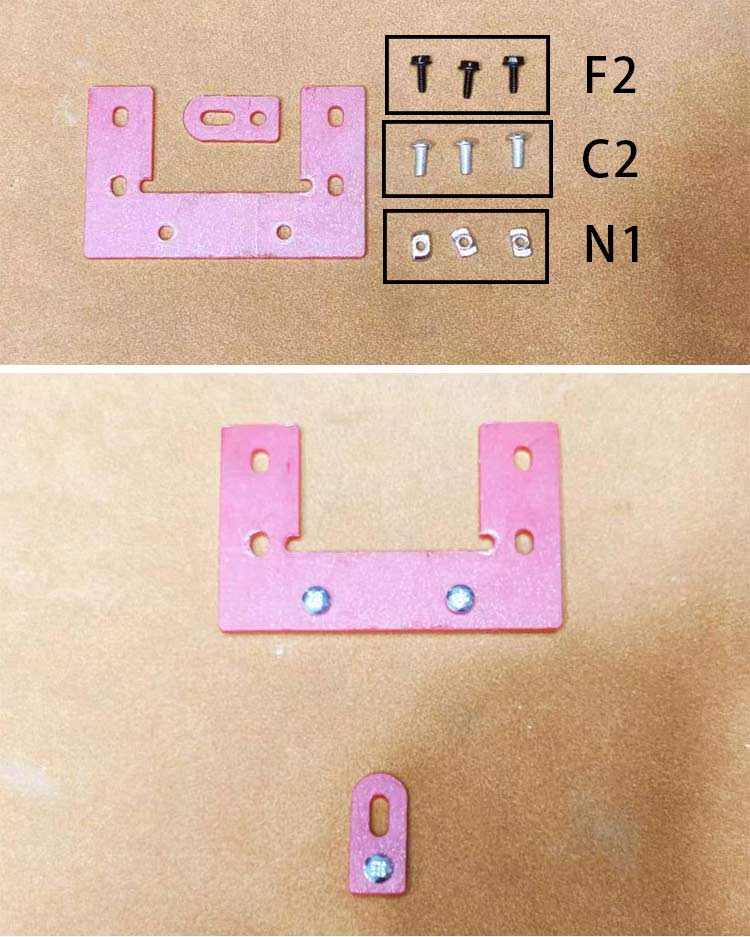
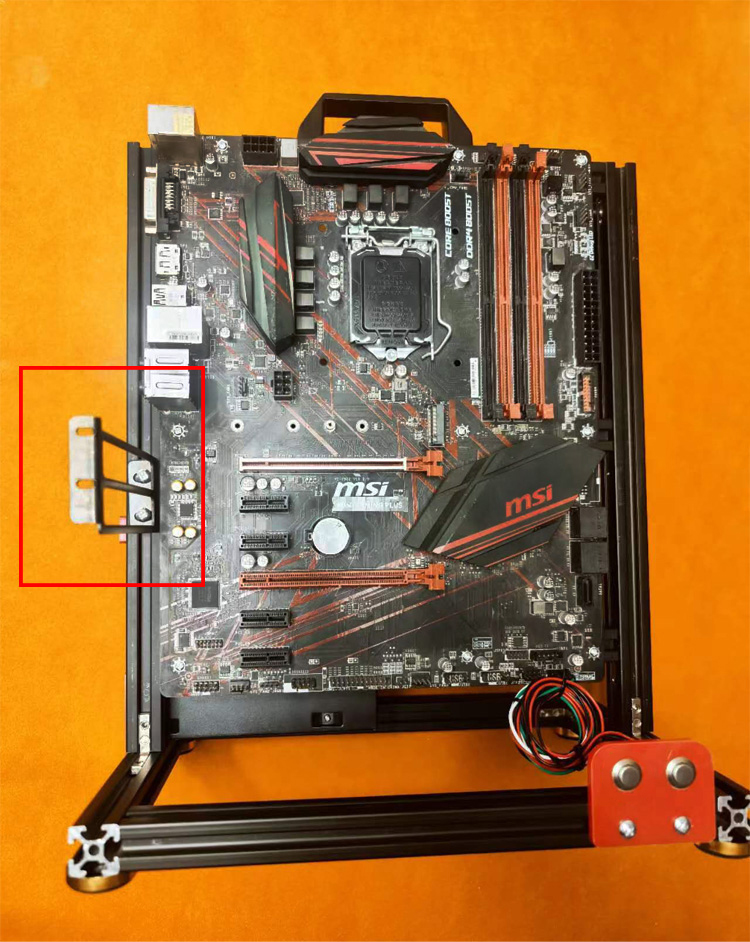
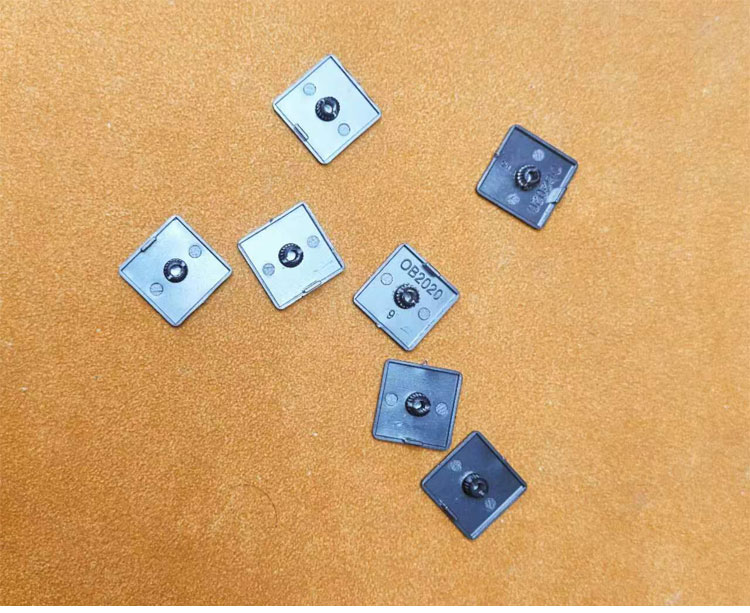
Take out the parts shown in the image.
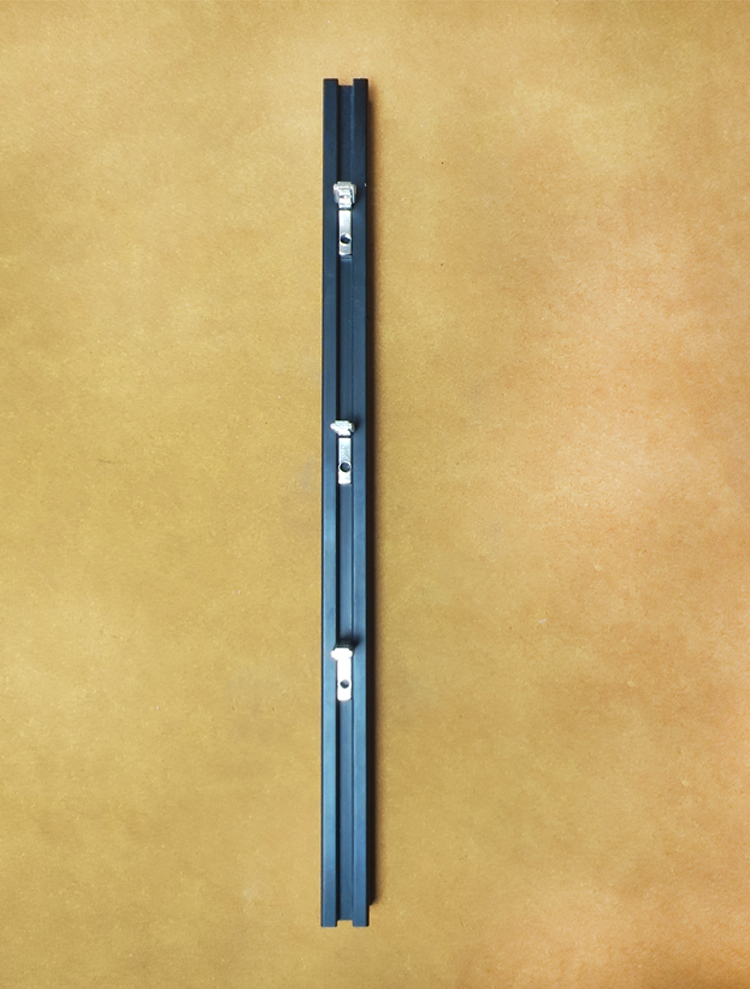
Insert L1 into the sliding rail.
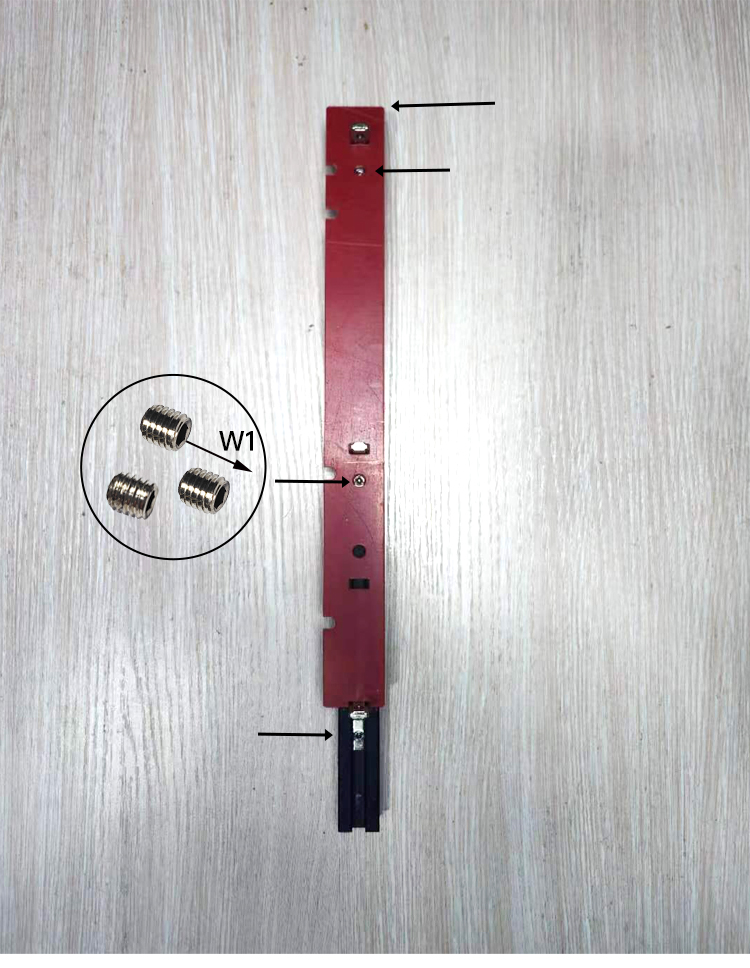
Align the top of the ruler with the pillar, install and tighten W1.
Assemble the second pillar using the same method.
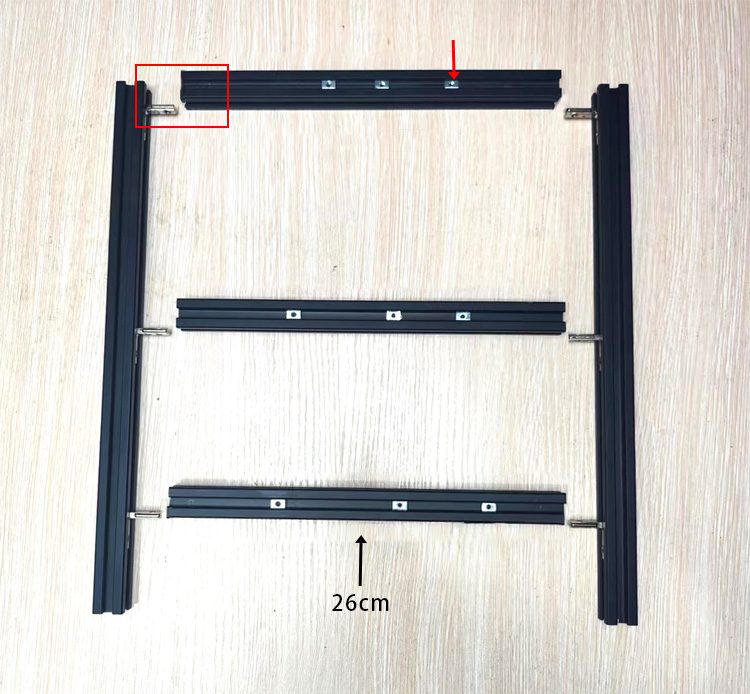
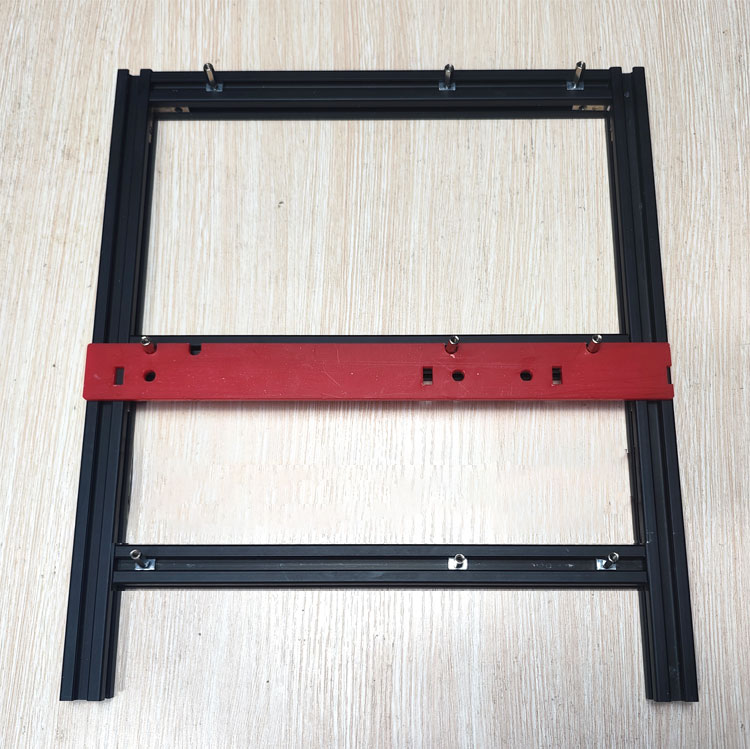
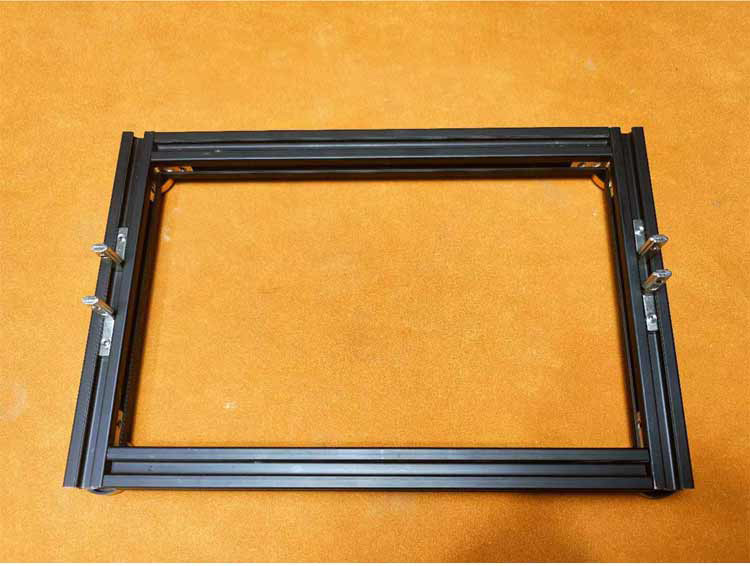
Insert 3 M1 screws into each rail.
Insert W1 and tighten.
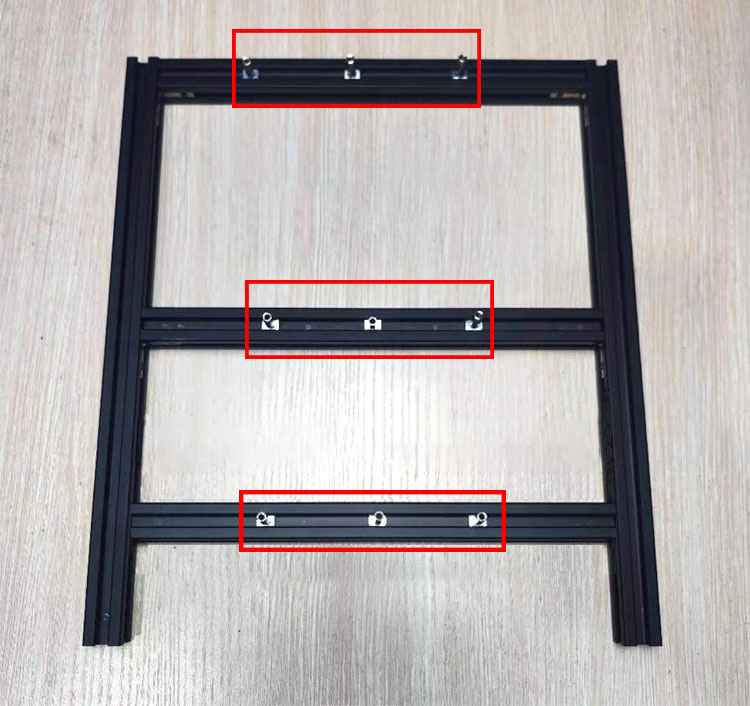
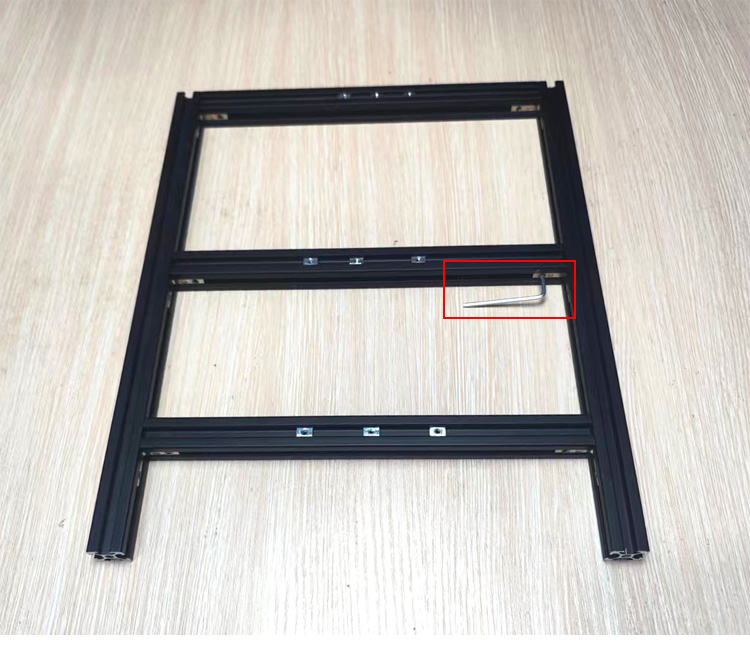
Align the left end of the caliper with the pillar, use holes 2, 3, and 4.
Align the left end of the caliper with the pillar, use holes 1, 3, and 4.
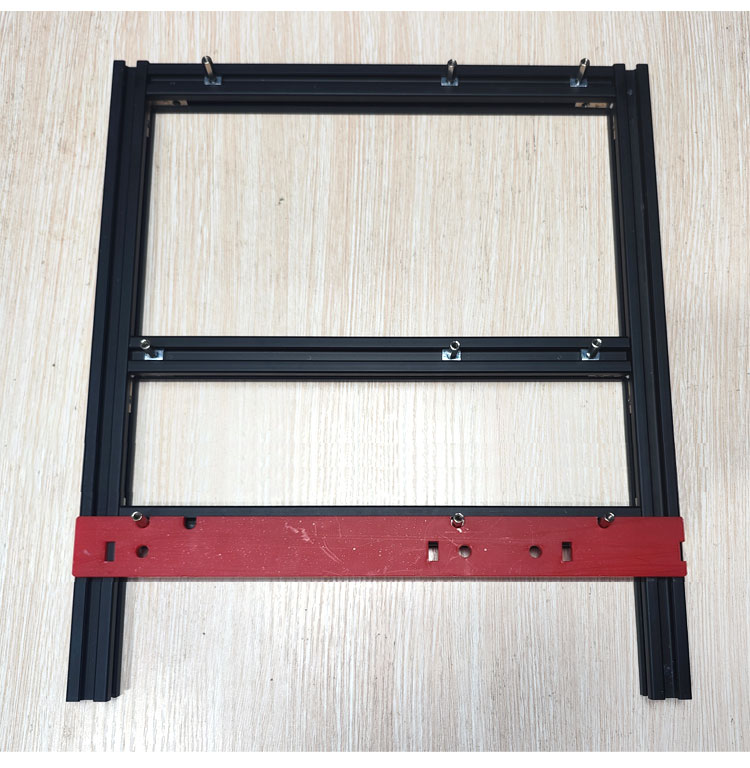
Align the left end of the caliper with the pillar, use holes 1, 3, and 4.
Screws are not needed for mismatched holes.
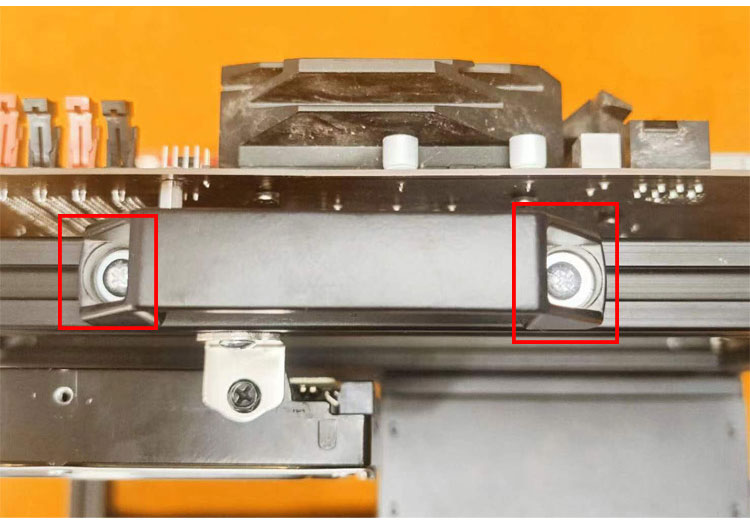
Assemble as shown and tighten W1.
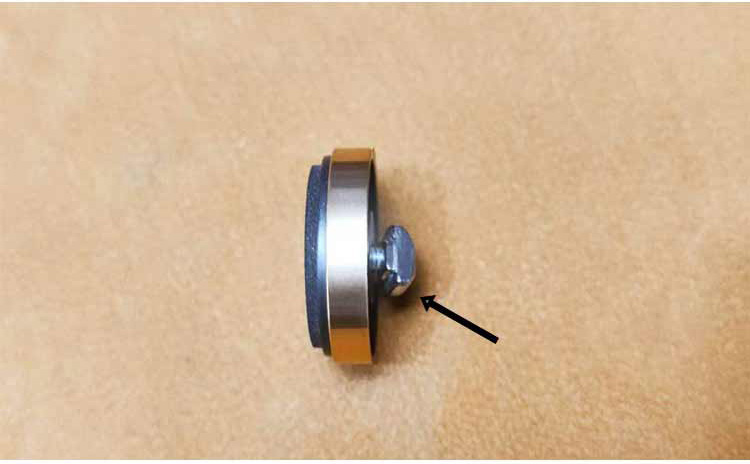

Fix the foot pads to the base.
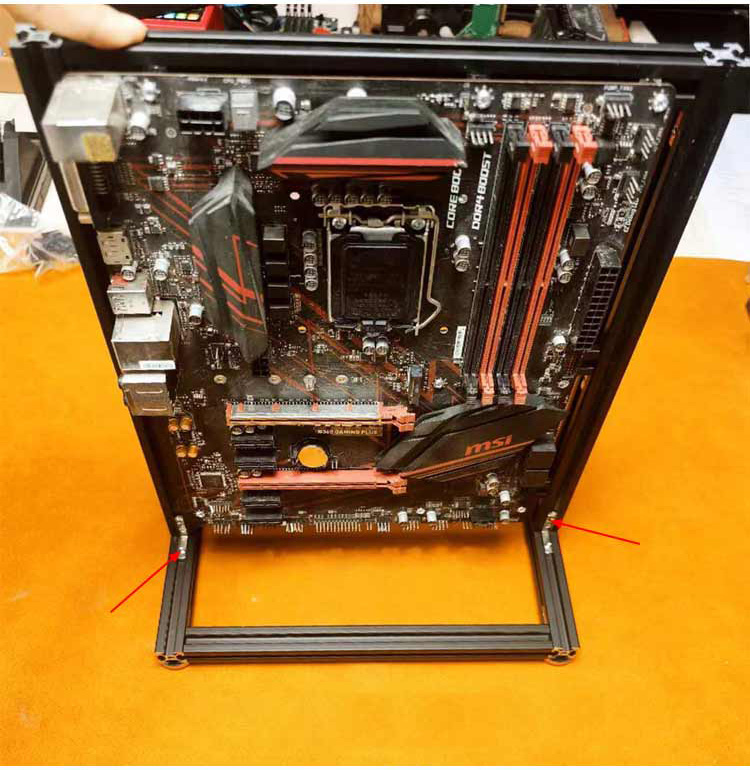
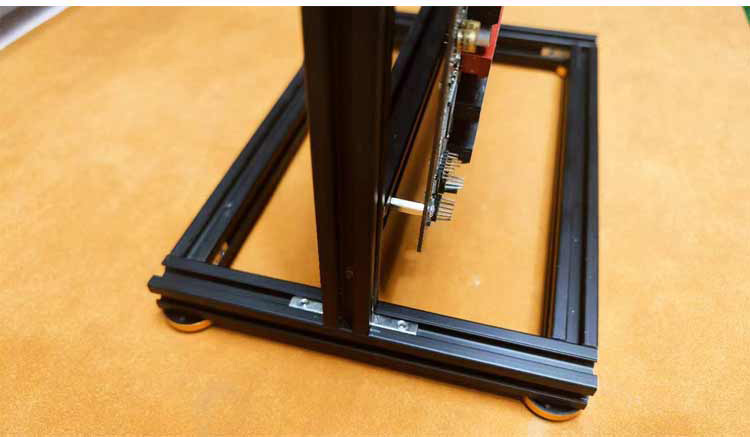
Install the upper part onto the base and tighten the screws.
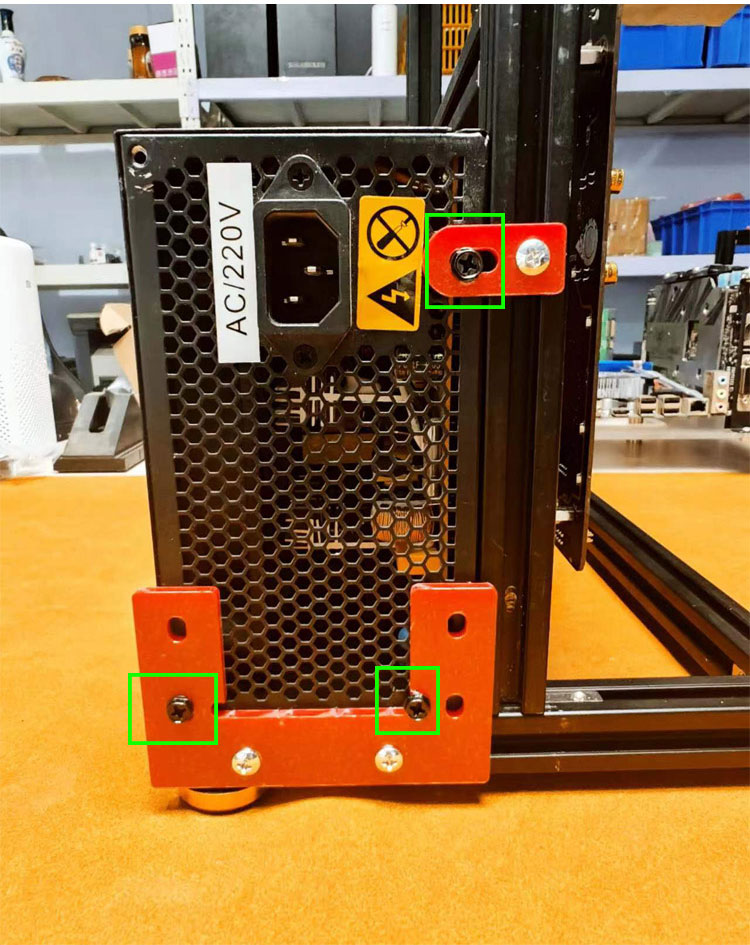
Standard power supply installation, with the power cable port facing upwards.
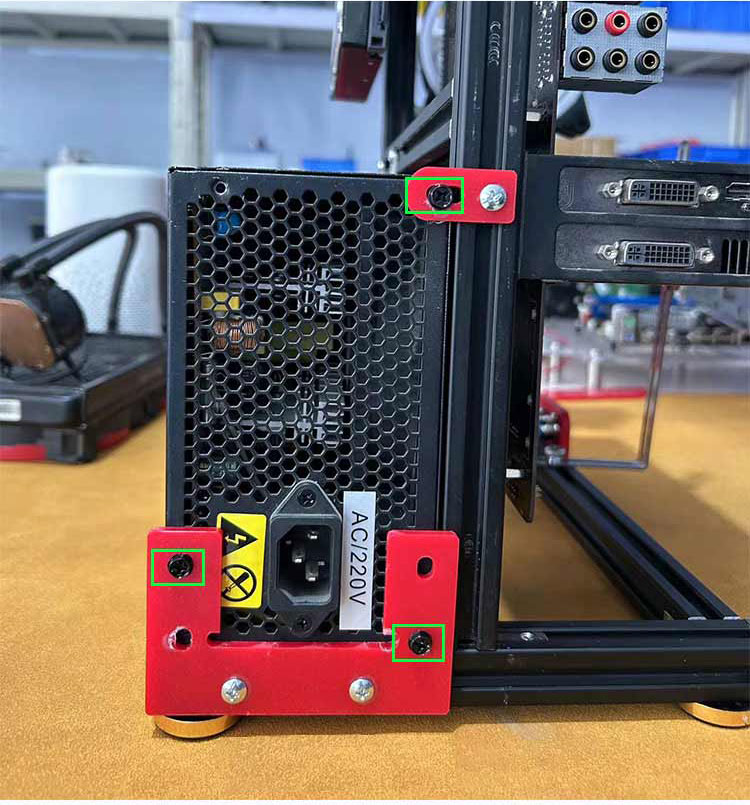
Standard power supply installation, with the power cable port facing downwards.

The above image shows the installation method for an SFX power supply.
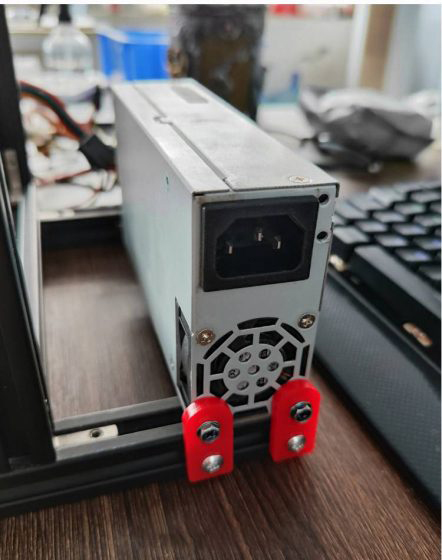
The above image shows the installation method for a 1U power supply.
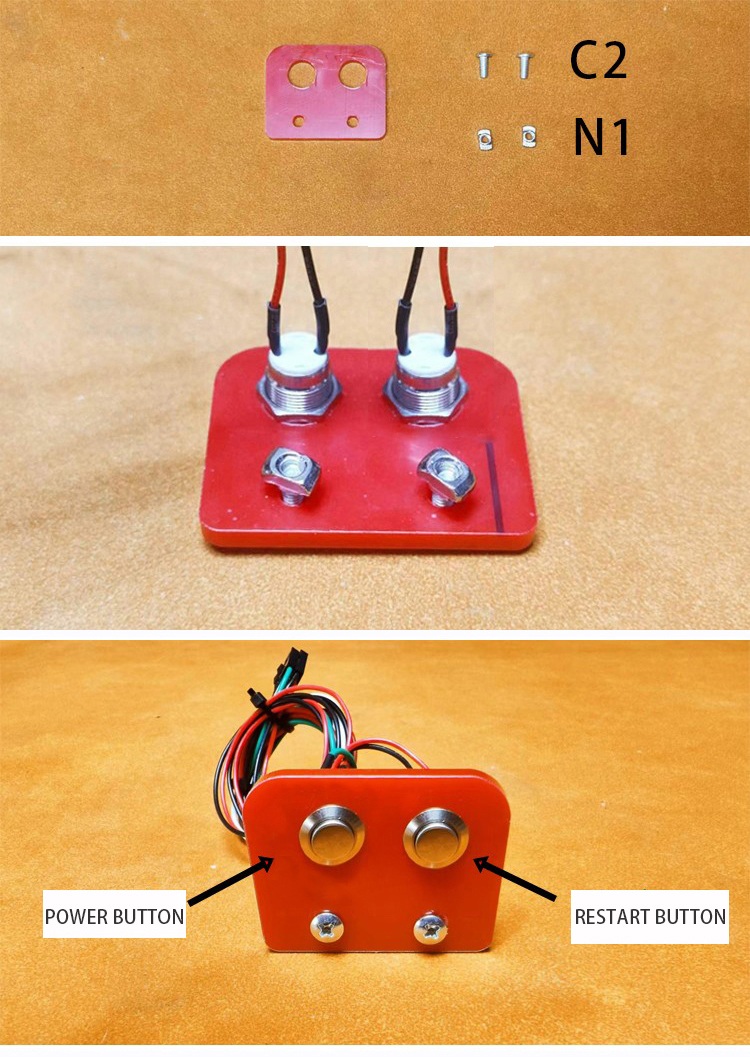
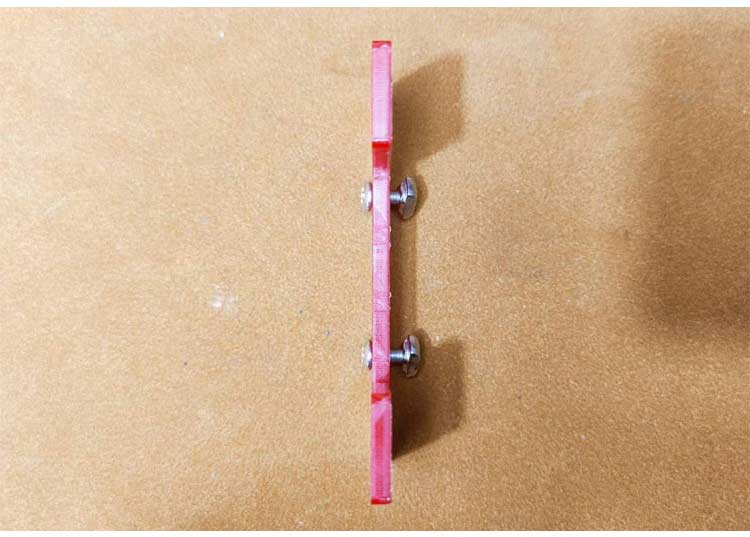
The left button is for power on, and the right one is for reset.
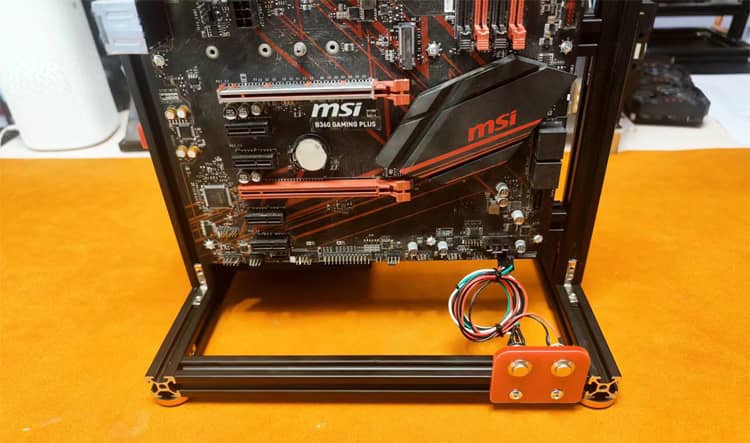
The image shows the fixation of the power and reset buttons.
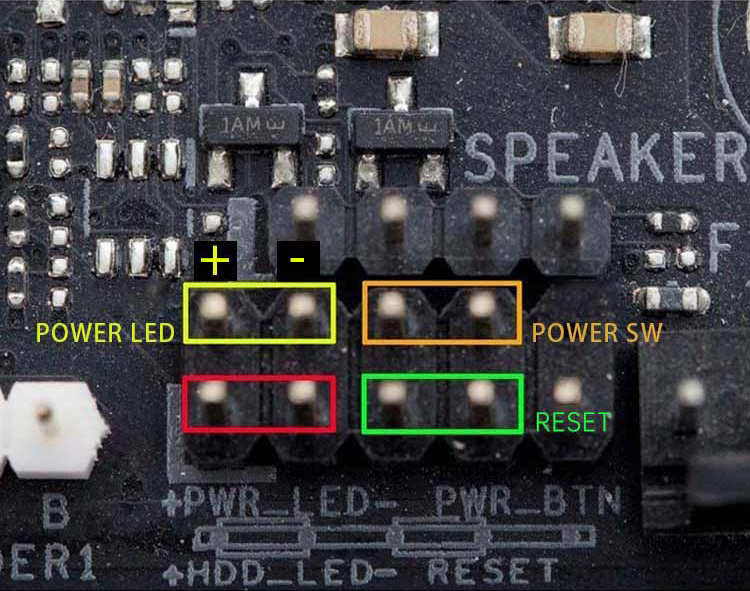
Common jumper wire connection method.
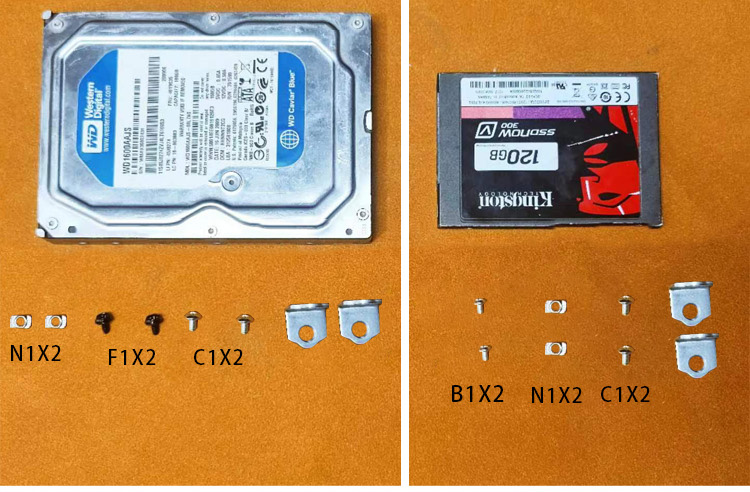
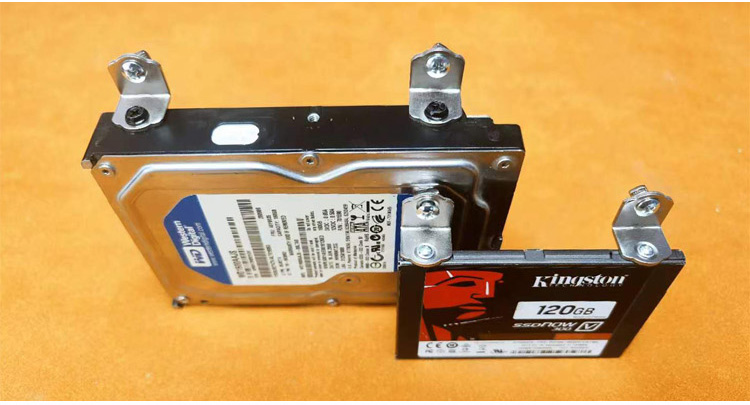
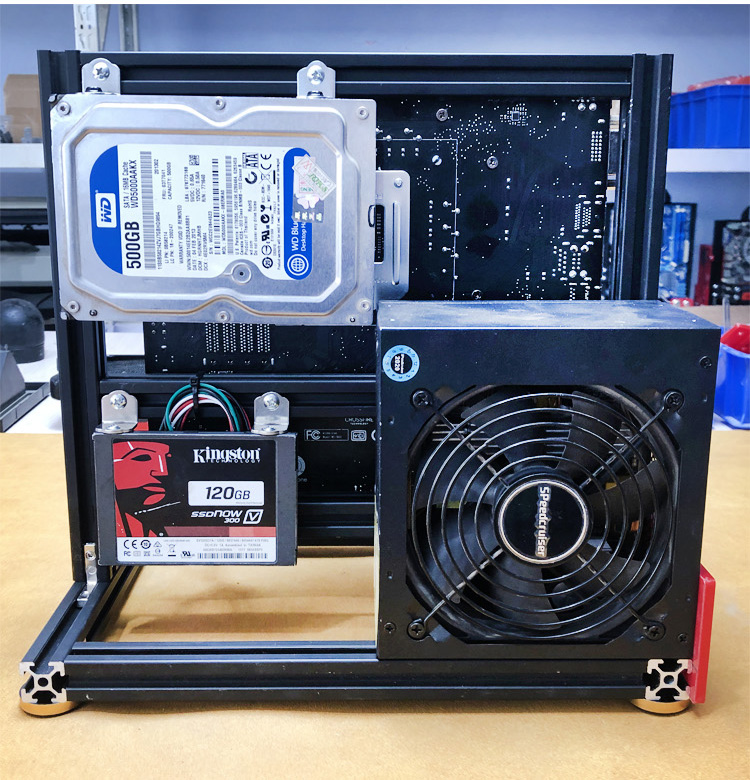
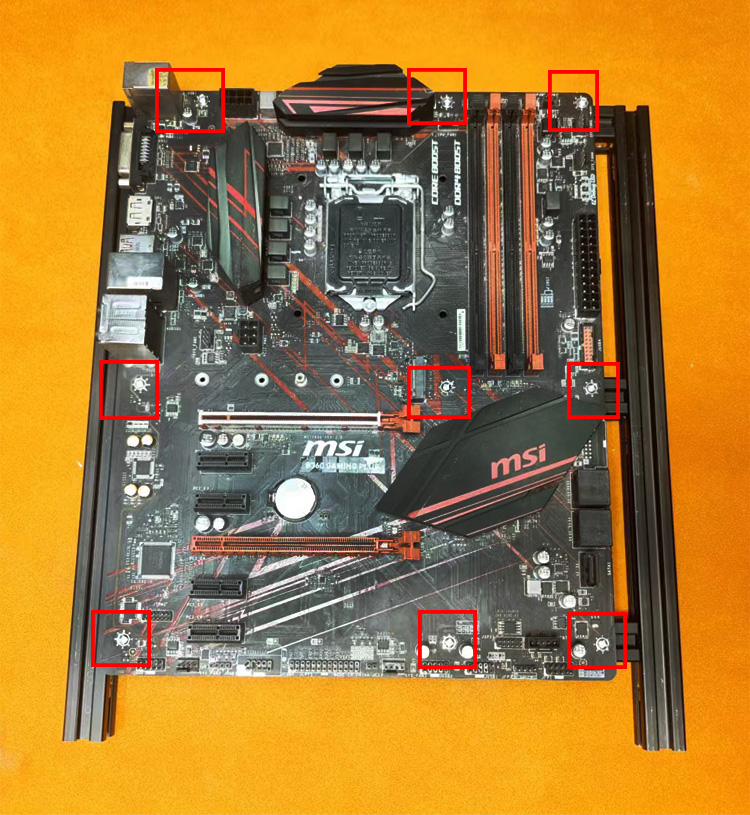
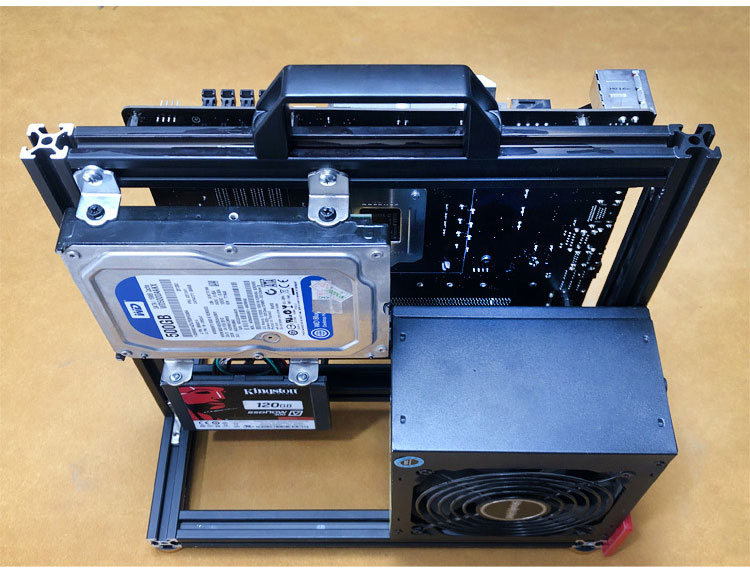
DIY case, hard drive mounting positions are flexible.
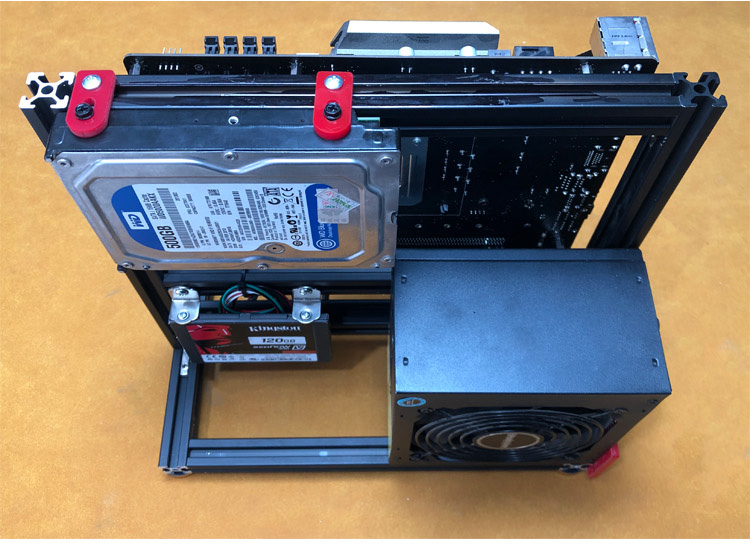
DIY case, hard drive mounting positions are flexible.
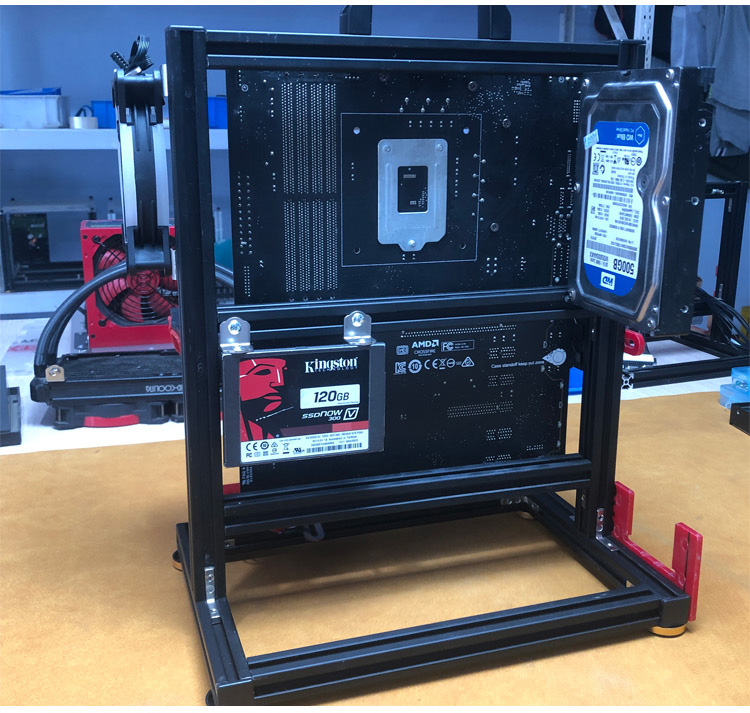
DIY case, hard drive mounting positions are flexible.
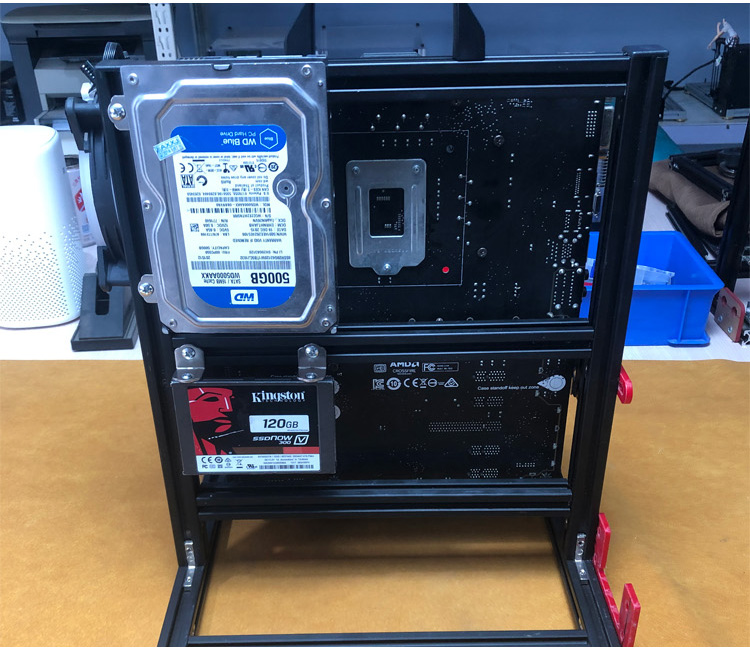
DIY case, hard drive mounting positions are flexible.
DIY case, hard drive mounting positions are flexible.
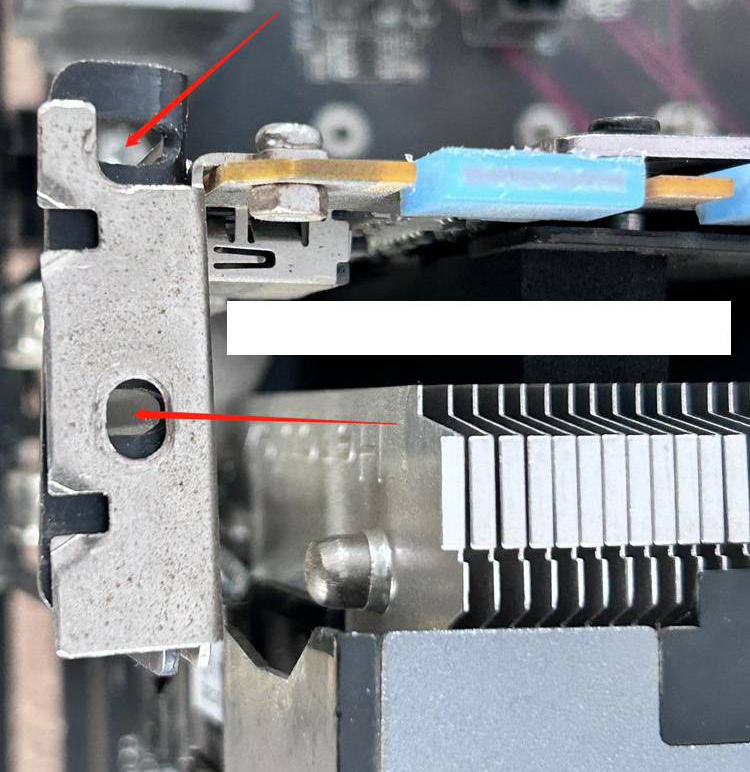
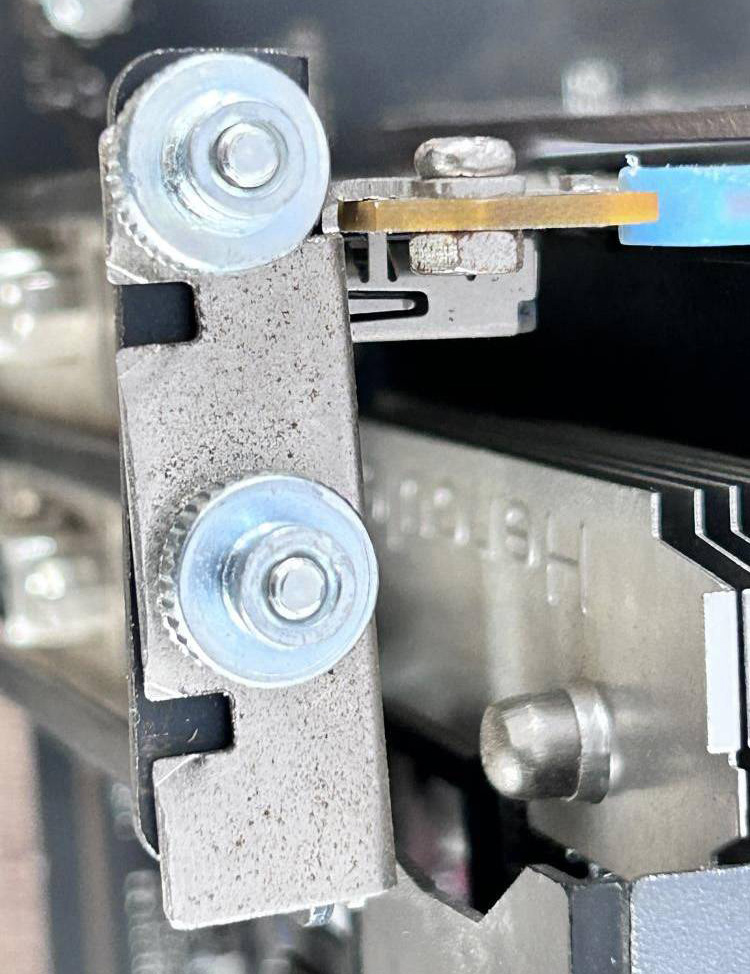
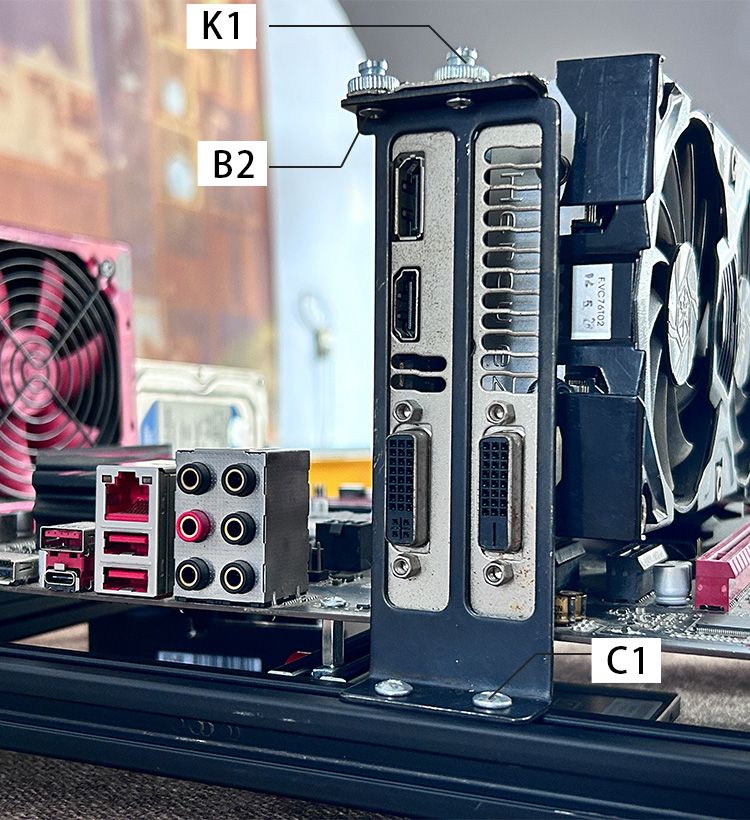
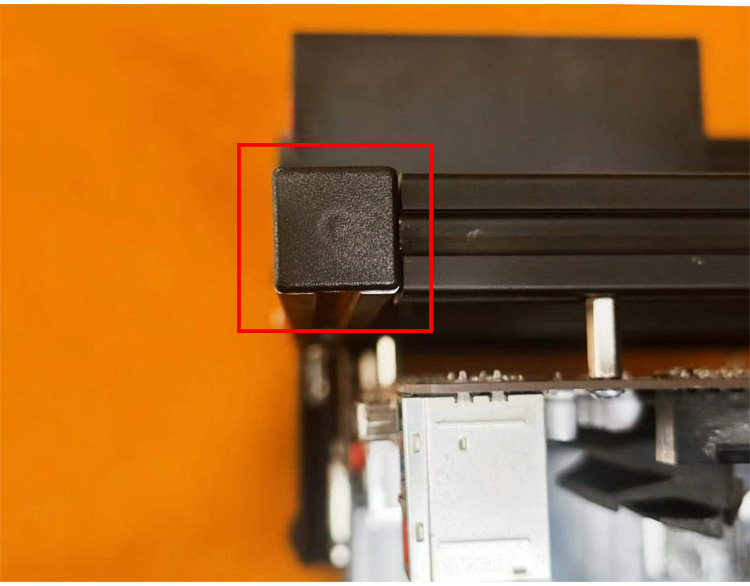
If the PCIE bracket blocks the video output port,
You can use an offset method to expose the port.
Sometimes brute force works—just hammer it in.