Tutorial
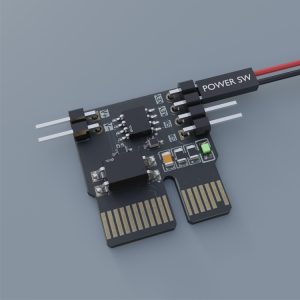
Power-on card upon incoming call
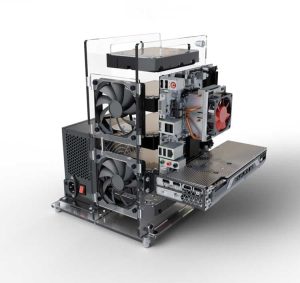
Nas Open Case
Installation reference diagram Install as shown above, pay attention to the left side, otherwise rework is required ITX motherboard installation…
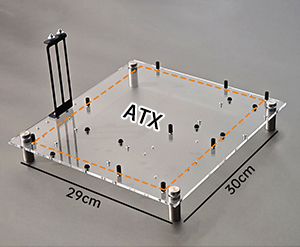
ATX-STAND
Place as shown Leg pillar installation position Note: Install the hard drive first, then install the motherboard Hard drive mounting…
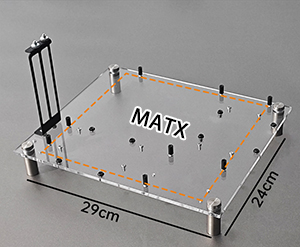
MATX-STAND
Place as shown Leg pillar installation position Note: Install the hard drive first, then install the motherboard Hard drive mounting…
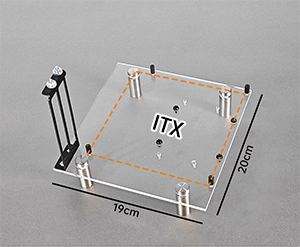
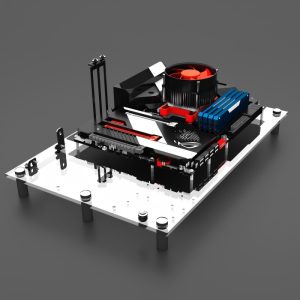
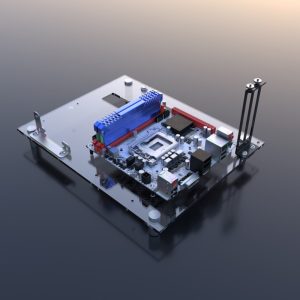
ITX-STAND
Place as shown Leg pillar installation position Note: Install the hard drive first, then install the motherboard Hard drive mounting…
PL-ATX
Installation Reference C2 is thicker than B2 Place as shown Leg pillar installation position Note: Install the hard drive first,…

PL-MATX
Installation Reference C2 is thicker than B2 Place as shown Leg pillar installation position Note: Install the hard drive first,…
PL-ITX
Installation Reference C2 is thicker than B2 Place as shown Leg pillar installation position Note: Install the hard drive first,…
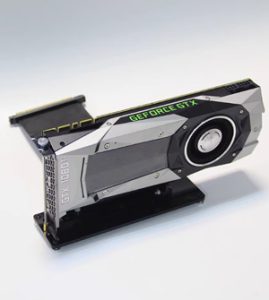
Vertical GPU Installation Guide
The video tutorial link is youtu.be/bSBMAks5Qjc

Water Cooling Installation
The video tutorial link is